
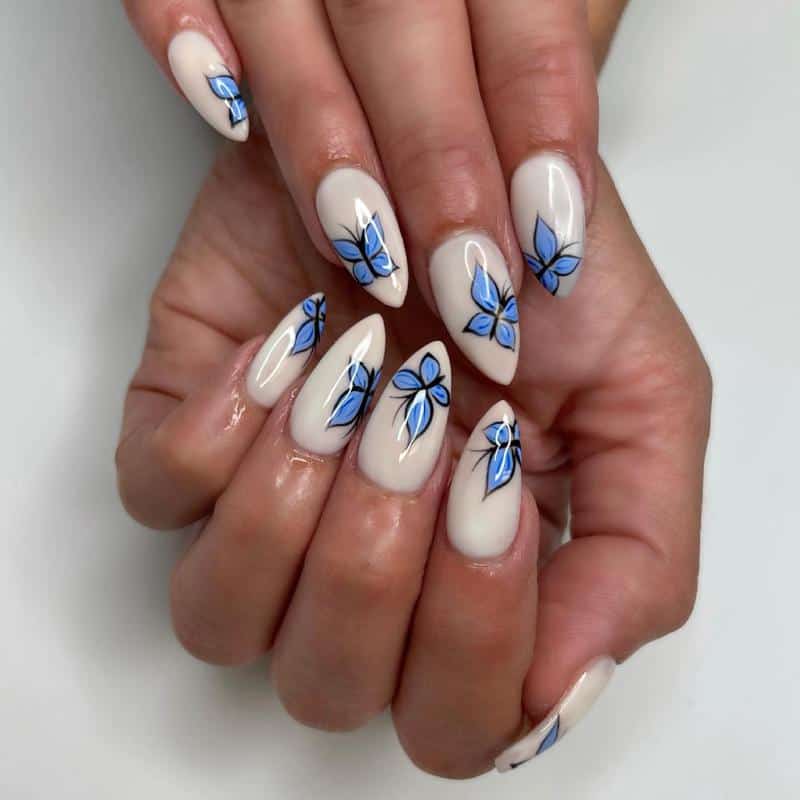
Butterfly nail designs have been a popular trend in the world of nail art for several years now. These designs are not only beautiful and elegant, but they also represent the beauty of nature and freedom. Butterfly nail designs come in various styles and colors, making them perfect for any occasion or season. Whether you want to create a soft and delicate look or a bold and vibrant one, butterfly nail designs offer endless possibilities. In this post, we will explore some of the most popular butterfly nail designs, their meanings, and how to create them.
Meaning of Butterfly Nail Designs

Butterflies are a symbol of transformation, growth, and freedom. They are also associated with beauty, grace, and elegance. Butterfly nail designs often represent the same qualities and are a way of expressing the wearer’s personality and individuality. Butterfly nail designs can also be used to show support for various causes, such as breast cancer awareness or environmental conservation.


Popular Butterfly Nail Designs
-
3D Butterfly Nail Design

A 3D butterfly nail design adds a unique and eye-catching element to your nails. These designs can be created using acrylics, gels, or nail stickers. To create a 3D butterfly nail design, start by applying a base coat and your desired nail polish color. Once your nails are dry, use a small brush or toothpick to apply a thin layer of clear nail polish to the center of your nails. Then, apply the 3D butterfly stickers or acrylics on top of the clear polish. Finish with a top coat to seal the design.
-
Butterfly French Tip Nail Design

A butterfly French tip nail design combines two classic nail styles into one. To create this design, start by applying a base coat and your desired nail polish color. Once your nails are dry, apply a French tip using white or another light color. Then, using a thin brush, draw a butterfly on top of the French tip using a contrasting color. Finish with a top coat to protect your design.
-
Butterfly and Flower Nail Design

A butterfly and flower nail design is perfect for spring and summer. This design features a butterfly and a flower on each nail, creating a beautiful and colorful look. To create this design, start by applying a base coat and your desired nail polish color. Once your nails are dry, use a thin brush to draw a flower on each nail using contrasting colors. Then, using the same brush, draw a butterfly on top of each flower. Finish with a top coat to protect your design.
-
Gradient Butterfly Nail Design

A gradient butterfly nail design creates a soft and delicate look. This design features a gradient of colors on each nail, with a butterfly on top. To create this design, start by applying a base coat and your desired nail polish color. Then, using a makeup sponge, apply a gradient of colors to each nail. Once your nails are dry, use a small brush to draw a butterfly on top of the gradient. Finish with a top coat to protect your design.
-
Watercolor Butterfly Nail Design
A watercolor butterfly nail design is a beautiful and artistic way to express your creativity. This design features a butterfly created using watercolor techniques. To create this design, start by applying a base coat and your desired nail polish color. Once your nails are dry, use a small brush to draw a butterfly on each nail using watercolor paints. Finish with a top coat to protect your design.

Creating Butterfly Nail Designs
Creating butterfly nail designs is a fun and creative process. Here are some tips to help you create your own butterfly nail designs:

-
Start with a clean canvas
Before you start creating your butterfly nail designs, make sure your nails are clean and free of any nail polish or oils. This will ensure that your design adheres properly and lasts longer.

-
Choose your color scheme
Choose a color scheme that complements your skin tone and personal style. Butterfly nail designs can be created using any color combination, from soft pastels to bold neons.

-
Gather your tools
Gather all the tools you need for your butterfly nail design, such as nail polish, brushes, stickers, and rhinestones. It’s important to have everything ready before you start creating your design.
-
Practice makes perfect
Practice your beautiful nail designs on a nail wheel or practice nails before trying them on your own nails. This will help you perfect your technique and create a design that you are happy with.

-
Experiment with different techniques
Experiment with different techniques, such as stamping, watercolor, or freehand painting, to create unique and original nail designs.
Conclusion
These nail designs are a beautiful and versatile way to express your creativity and individuality. Whether you prefer bold and vibrant designs or soft and delicate ones, there is a butterfly nail design for everyone. These designs not only look beautiful, but they also represent the beauty and freedom of nature. By following these tips and experimenting with different techniques, you can create your own unique nail designs that reflect your personality and style. So, let your creativity take flight and try out some butterfly nail designs today!

If you liked this post, check out some of our related posts too!
5 Homemade Brown Sugar Scrubs for Glowing Skin

